#rankmath
Title: Embroidery on Denim Quality Control for Apparel Brands
Description: Approve embroidered denim with practical controls for needles, stabilizers, placement, seam clearance, distortion and post-wash appearance.
Keyword: embroidery on denim quality control
#rankmath
Embroidery on Denim: Needle, Stabilizer, Placement and Wash-Approval Controls
Embroidery on denim quality control is not simply a logo-placement exercise. Dense fabric, seam bulk, wash treatments and the embroidery program all interact. A design that looks clean on a flat, unwashed panel can pull, shift, show needle damage or lose its intended balance after the garment is sewn and washed.
For fashion brands, streetwear labels and wholesale buyers, the approval objective is straightforward: define the approved appearance on the actual denim construction and make that approval usable on the production floor. That means aligning artwork, thread, needle, backing, placement, seam clearance and wash sequence before bulk production.
JUNSHEEN supports OEM, ODM and private-label apparel development across denim and other casualwear categories. Its process can coordinate sampling, decoration, wash approval and production QC; the useful buyer input is a specific embroidery brief rather than a logo file alone. Explore JUNSHEEN or review its Custom Men’s Embroidered Jeans Wholesale Supplier page for related product-development context.
Start with the garment, not the embroidery file

“Denim” covers a wide range of constructions. A rigid, heavy jean panel behaves differently from a lighter denim shirt, stretch denim skirt or heavily washed jacket. Seams, pockets, yokes, facings and doubled layers introduce further variation. Treat the intended garment fabric, construction and finishing route as part of the embroidery specification.
Before digitizing, provide the supplier with:
- The final or proposed denim composition, weight, stretch direction and color.
- Whether embroidery is applied to a cut panel, an assembled garment or a detachable patch.
- The planned wash or finishing treatment and whether embroidery happens before or after it.
- A vector artwork file, target dimensions, color callouts and acceptable design simplifications.
- Placement coordinates measured from stable garment landmarks.
- The full size range, because a placement that works on one sample size may look too high, low or narrow on another.
A robust approval does not assume that one physical sample represents every combination. If the program includes multiple washes, colors, fabrics or sizes, identify which combinations require their own confirmation. This is especially important when a wash changes shade, hand feel, shrinkage or panel shape.
Choose needles and thread as a controlled pairing

Needle selection should be treated as a sampling decision, not copied automatically from a previous style. A sharp needle recommendation for denim is reflected in commercial embroidery guidance: one source suggests 75/11 sharp needles for light-to-medium denim and 80/12 sharp needles for heavy denim or canvas. That is useful starting guidance, not a universal production standard; the correct setup still depends on fabric, thread, machine, design density and test results on the actual material. ColDesi’s denim stabilizing guidance supports those starting sizes.
Ask the embroidery team to record the sampled needle type and size, thread type, bobbin thread, tension settings and machine program revision. The record is valuable when a bulk line must reproduce an approved result or investigate a defect.
Thread choice is also visual. Gloss, thickness and color can look different against indigo, black, ecru or faded denim. A dark thread can disappear into a dark wash; a bright thread may dominate after abrasion or fading. Where the design includes fine lettering, narrow strokes or small negative spaces, ask whether the artwork needs production-minded adjustment. This is not changing the brand mark casually. It is confirming that the sewn mark remains legible at the approved size.
Inspect samples for:
- Broken, skipped or loose stitches.
- Needle marks, punctures or visible holes around the design.
- Thread color that reads differently after washing.
- Small text that closes up or loses definition.
- Excessive thread buildup that makes the panel stiff or distorted.
Match stabilizer to the design and construction
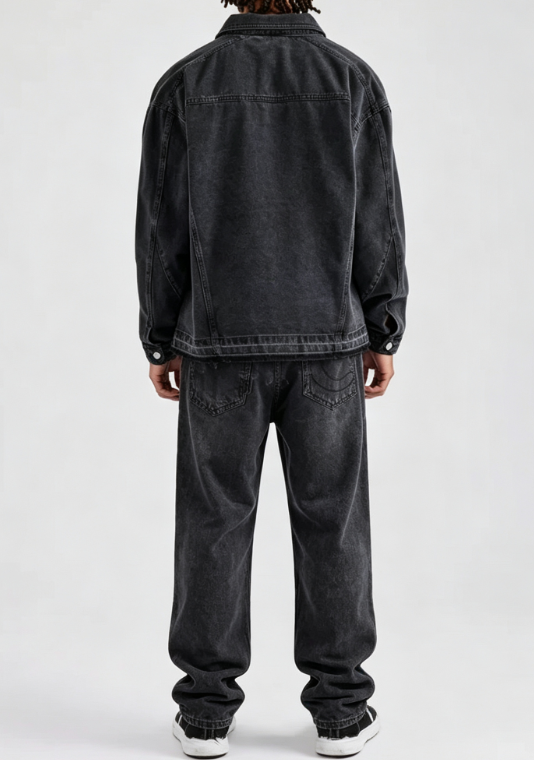
Stabilizer controls fabric movement while embroidery is formed. It should support the actual design without creating an unacceptable hand feel, outline or residue after finishing. Available guidance varies: one source describes tear-away and cutaway stabilizers as common choices for denim embroidery, while another recommends a lightweight wash-away option for reinforcement that is removed afterward. These are alternative approaches, not competing rules. This denim embroidery discussion notes tear-away and cutaway use, while Craftsy’s denim embroidery guidance describes lightweight wash-away stabilization.
Use a physical sample comparison when the result matters commercially. Test the proposed backing against the exact denim and the intended stitch file. Compare the garment from both sides before and after its planned wash route.
A stabilizer review should answer practical questions:
- Does the embroidery remain flat enough without puckering the surrounding denim?
- Can backing be trimmed or removed cleanly where it may contact the wearer?
- Does the backing show through lighter denim or create a visible outline after washing?
- Does the garment retain the intended drape and hand feel?
- Is the result stable near seams, pocket edges, plackets or multiple fabric layers?
Do not approve a backing solely because it makes the embroidery look tidy in the hoop. The approval should reflect the finished garment, including the interior view where backing comfort, coverage and trimming quality matter.
Define placement from stable reference points
Placement drift is often caused by an incomplete instruction. “Left chest” or “back pocket logo” describes an area, not a production location. Use a placement sheet with a garment diagram, an image of the approved sample and dimensions from stable reference points such as center front, neckline seam, pocket edge, waistband seam, side seam or yoke seam.
Avoid measuring from a raw edge that may move during sewing, washing or finishing. For pocket embroidery, clarify whether the location is measured on the pocket before attachment or on the finished garment after attachment. For jacket back embroidery, specify the relationship to the center-back seam, yoke and shoulder seam.
Seam clearance deserves its own note. An embroidery field too close to a bulky seam may distort, mis-register or become difficult to hoop. It can also complicate sewing if embroidery is completed before assembly. Mark no-embroidery zones around seams, rivets, buttonholes, zipper areas, belt loops, pocket openings and other functional hardware.
For graded sizes, approval should include a size-placement strategy. A fixed distance may be right for a small chest graphic but look undersized or overly central on larger sizes. Conversely, proportional scaling can change the artwork too much. State whether artwork size stays fixed, placement shifts by size, or both elements are graded according to the approved size set.
Control distortion before it reaches bulk
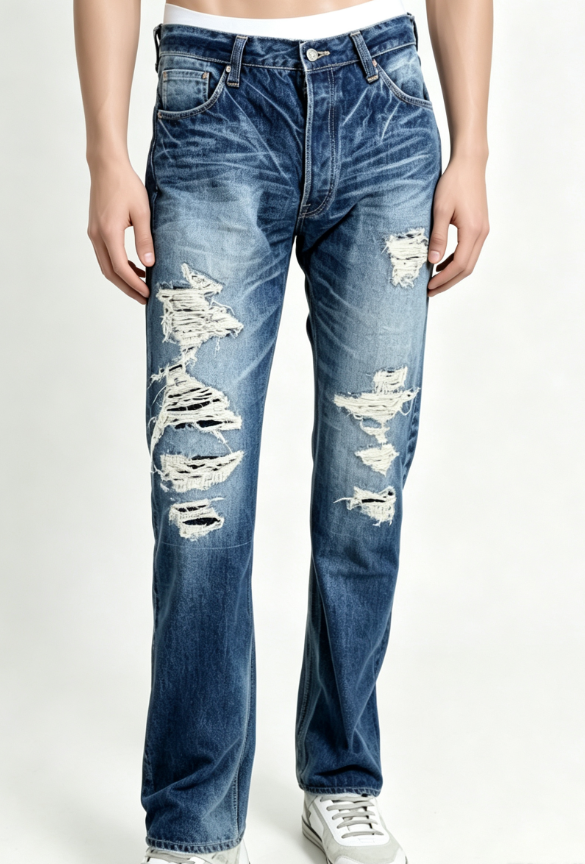
Puckering, waviness and skew are symptoms, not one defect. They can be associated with insufficient stabilization, high stitch density, tension imbalance, unsuitable hooping, a fabric that moves under the needle, or embroidery too close to a seam. The correction should follow a sample review rather than a blanket instruction to “add more backing.”
Review the garment on a flat surface and on-body or on an appropriate form. A design that appears centered on a table may pull off-balance when the denim follows a chest, sleeve or hip curve. For curved areas, consider whether the artwork needs a smaller footprint, a less dense fill, a different placement or a patch-based construction.
The quality-control scope for denim should also include fabric, construction, wash effects, measurements and labels—not embroidery in isolation. A published denim QC checklist describes pre-production approval of fabric, trims, fit samples and wash standards, plus in-line and final checks. New Asia Garment’s checklist is useful context for treating embroidery as one controlled element within the finished garment.
Make post-wash approval a gate, not an afterthought

For washed denim, the pre-wash and post-wash appearance can be meaningfully different. Color contrast may change, stitching can relax, the panel can shift, and residual backing may become more visible. Approve the production-representative wash standard together with the embroidery result whenever embroidery is exposed to the treatment.
The sequence must be explicit. If embroidery occurs before washing, assess thread color, shape, backing behavior and garment panel distortion after the wash. If it occurs after washing, assess whether the finished garment can be hooped consistently without affecting the intended wash appearance or construction.
The approval sample should be retained or photographed comprehensively. Include front, back, close-up, interior backing, placement measurements and the exact wash reference. Name the approved version clearly so the factory, brand and QC team are not comparing bulk garments to different sample iterations.
Sample-approval checklist
- Confirm the denim, wash route, color and size used for the sample.
- Confirm artwork version, finished dimensions and thread colors.
- Record needle, thread, backing and digitizing-program details used for approval.
- Verify placement from documented landmarks and check seam-clearance zones.
- Inspect the face and interior for distortion, needle damage, loose threads and backing visibility.
- Review the garment after the intended wash or finishing sequence.
- Approve or reject against named criteria; document corrections before the next sample.
Translate the approval into bulk controls
A good pre-production sample is only useful when its conditions are transferred into bulk work. The embroidery specification should travel with the production order and be visible to the relevant decoration, sewing, wash and QC teams.
At the start of bulk production, compare first-off units with the approved sample. Check placement, thread shade, design registration, backing trim and garment orientation. During production, take in-line units from normal flow rather than selecting only the best-looking output. Separate embroidery checks from general garment checks, then reconcile them on the finished, washed unit.
Bulk-production QC checklist
- Use the approved artwork file and revision identifier.
- Verify the denim shade and construction match the approved reference before decoration.
- Confirm the recorded needle, thread and stabilizer setup at line start and after material changes.
- Check placement, orientation and seam clearance on first-off and in-line units.
- Inspect for puckering, skipped stitches, thread breaks, exposed backing and needle damage.
- Check pocket, yoke, seam and hardware relationships after garment assembly.
- Compare post-wash appearance with the approved wash-and-embroidery standard where applicable.
- Isolate recurring defects, identify the process point and recheck after correction.
These are recommended operational controls. Brands should add their own acceptance criteria, measurement tolerances, legal labeling requirements and retailer-specific inspection requirements where relevant.
What to send with an embroidered-denim inquiry
A productive request for quotation or development inquiry includes the style category, expected units by color and size, target size range, artwork, reference images, denim preference, planned wash treatment and required delivery market. Add a photo or sketch that shows each embroidery location and state whether the logo must be identical across all sizes.
JUNSHEEN can review a tech pack, reference sample or concept and coordinate fabric, sampling, decoration, wash and final-quality discussions. For a program beginning at its stated 100-unit MOQ per style/color, subject to fabric and craft complexity, contact the team with the embroidery brief and the specific sample-approval questions you need resolved.
FAQ
Should embroidery happen before or after denim washing?
It depends on the garment construction, intended wash effect and desired appearance. Decide the sequence during sampling, then approve the embroidery on the finished condition that bulk units must match.
Is one stabilizer correct for every denim style?
No. Tear-away, cutaway and wash-away approaches may be used in denim embroidery, but the appropriate choice should be confirmed on the actual fabric, design and finishing route rather than assumed from a generic rule.
How should a brand specify embroidery placement?
Use a placement drawing, measured dimensions from stable garment landmarks, a photo of the approved sample and clear notes on seam-clearance zones. Include a size-placement strategy for graded garments.
What is the most important wash-approval check?
Compare the post-wash embroidery to the approved standard for shape, placement, thread appearance, surrounding fabric distortion and visible backing. The finished garment—not the unwashed panel—is the reference that matters.